
Commercial Fence Installation in Brodhead, WI: Preparing the Site for a Fall Project
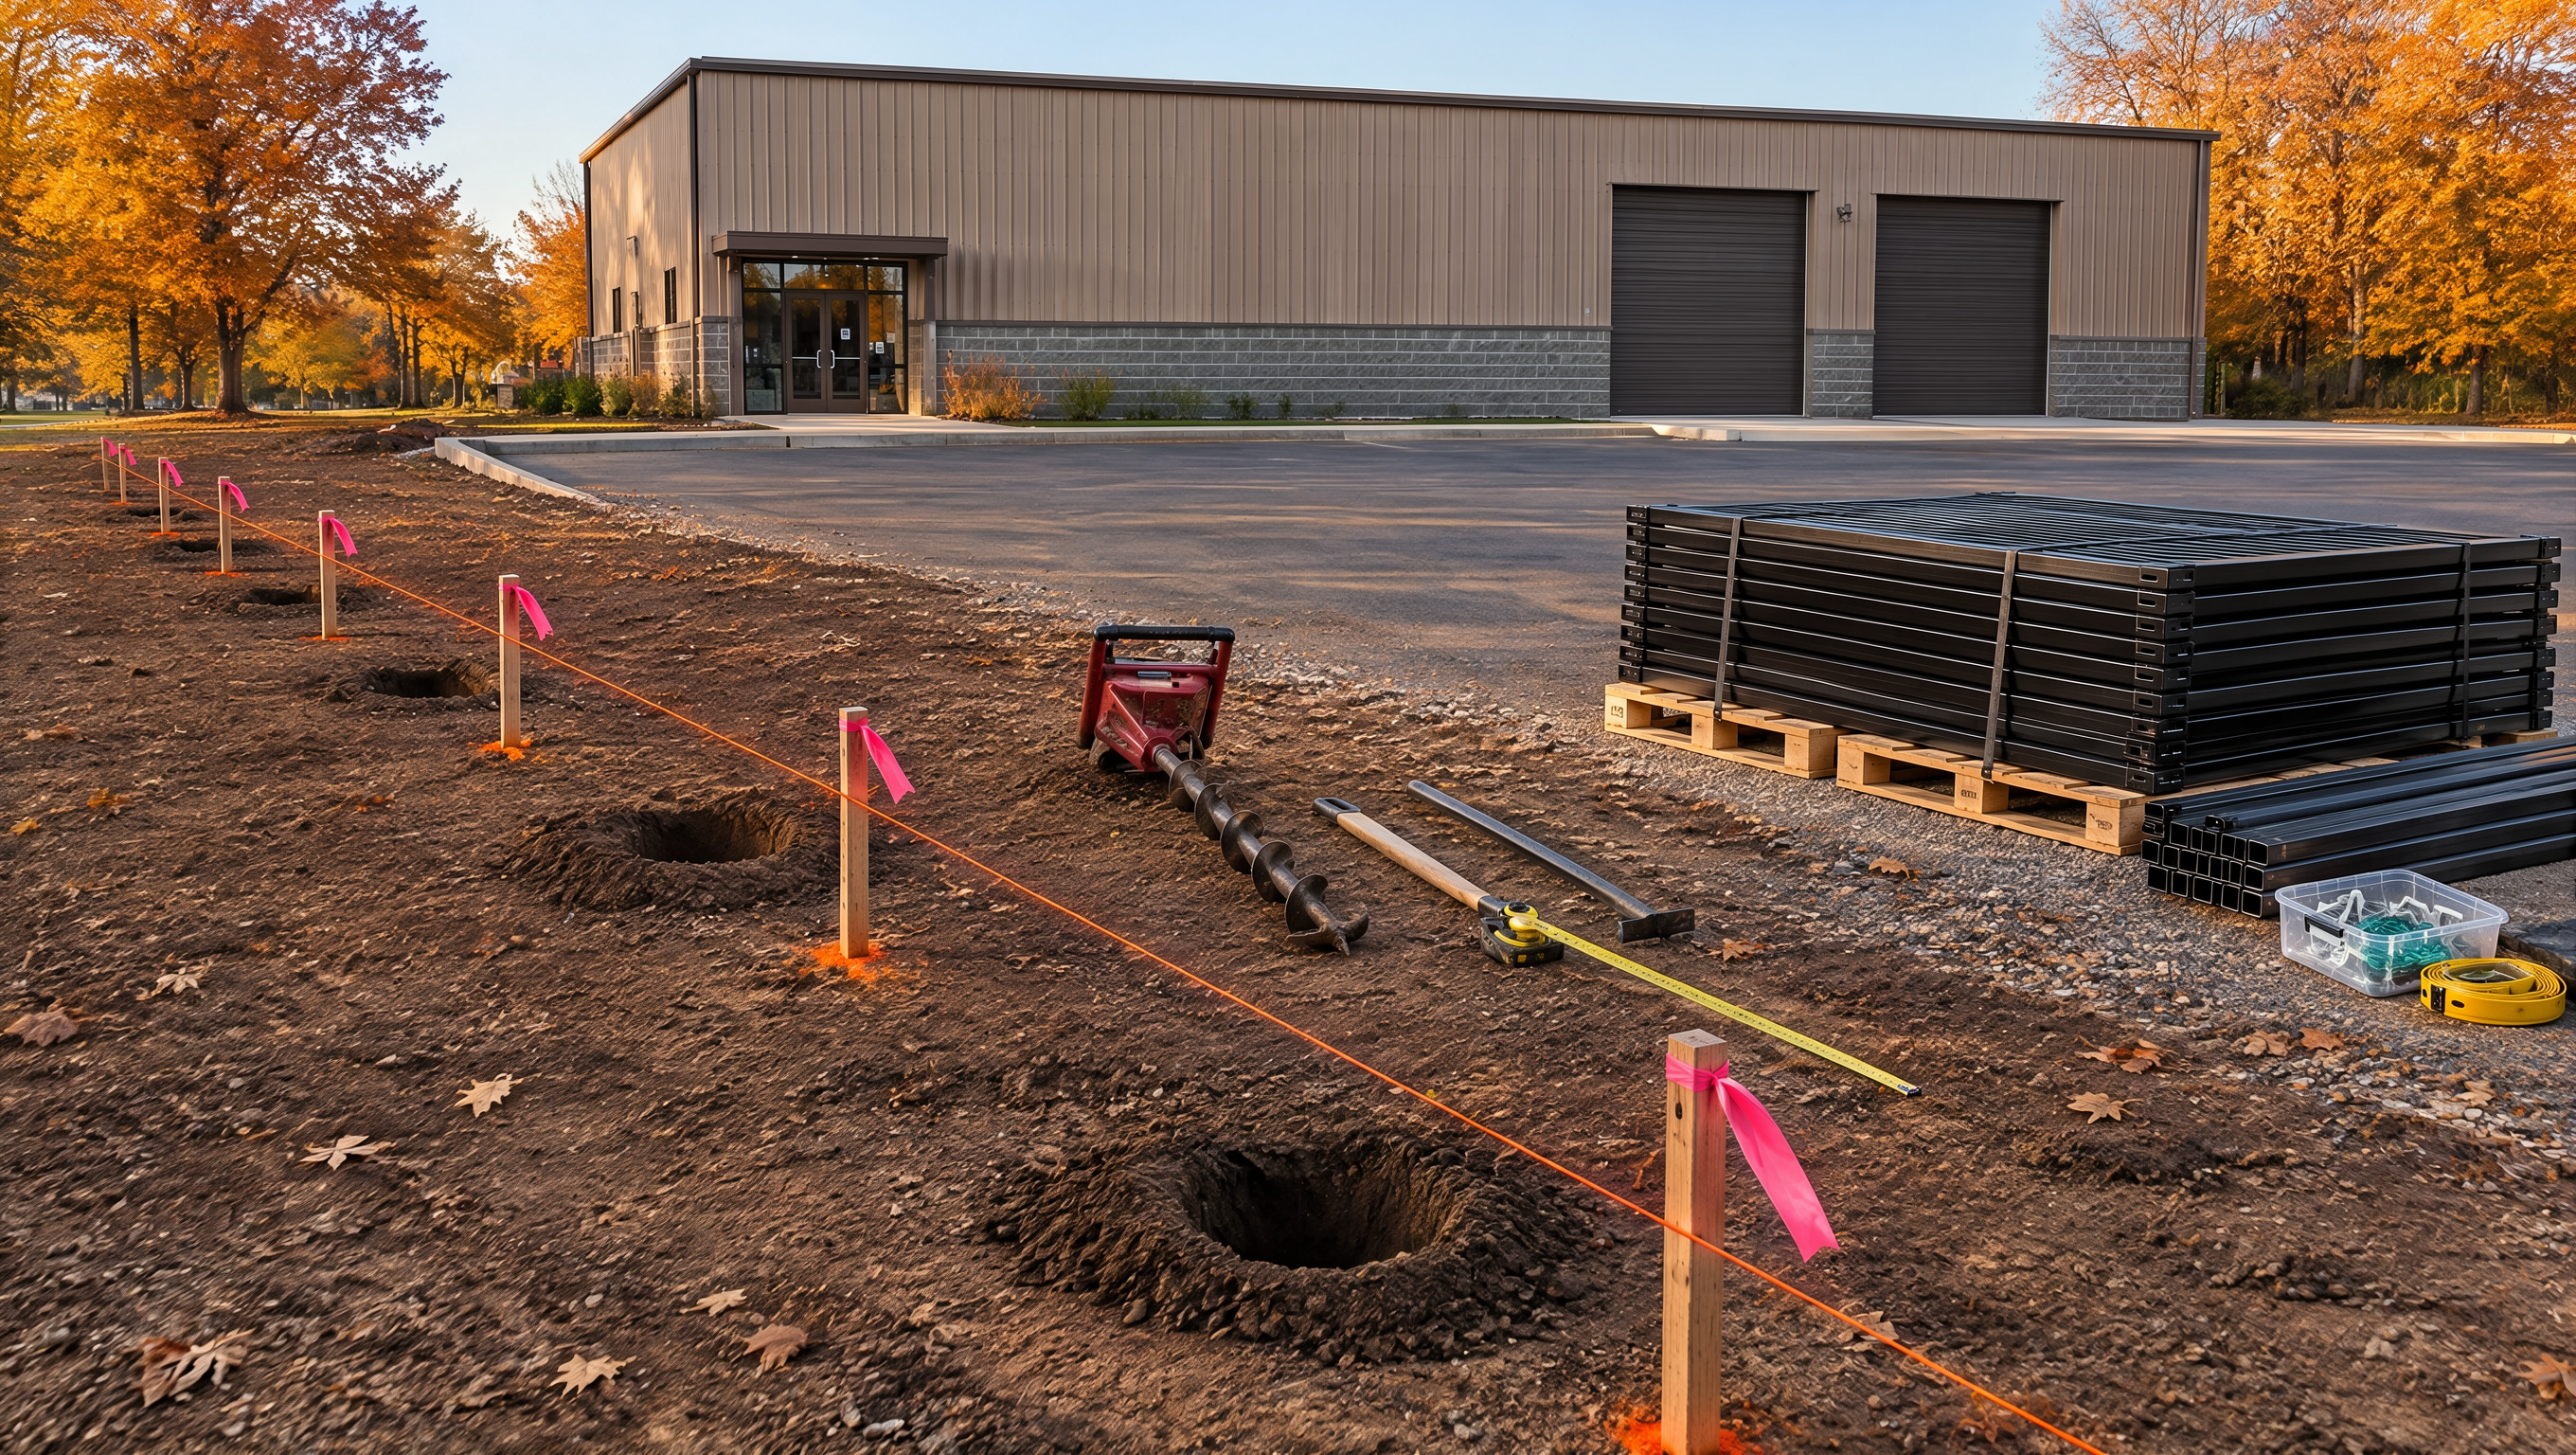
Preparing a commercial property for fall fence installation in Brodhead can help reduce delays once crews arrive. Businesses should confirm the fence layout, clear the work area, plan gate access, review drainage and pavement, coordinate demolition, and consider how the finished perimeter will work with snow removal and winter traffic.
Finalize the Fence Layout Before Site Work Begins
Site preparation is much easier when the final fence line has already been determined.
Before installation, review how the proposed perimeter interacts with:
Buildings
Parking areas
Loading zones
Outdoor storage
Equipment yards
Walkways
Service entrances
A late change to the fence line can affect total footage, post locations, gate positions, and materials.
Businesses should also review reliable property information and applicable local requirements before final placement.
Resolving these questions early helps prevent crews from reaching the site only to find that the layout still needs to be changed.
Clear the Fence Line
Commercial fence installation requires enough room for crews, tools, materials, and equipment.
Walk the planned fence line and remove or relocate items such as:
Pallets
Stored inventory
Branches
Temporary equipment
Debris
Portable structures
Vegetation may also need attention if it prevents access to post locations.
The goal is not necessarily to clear the entire property. Crews mainly need a practical working area along the proposed fence line.
If some sections cannot be cleared because of business operations, identify them before installation so the work sequence can be planned around those restrictions.
Confirm Gate Locations Before Installation
Commercial gates usually require more planning than standard fence sections.
Before crews begin setting posts, confirm:
Gate location
Gate width
Swing or sliding configuration
Pedestrian access
Vehicle turning room
Consider the largest vehicles that regularly enter the property.
These may include delivery trucks, trailers, service vehicles, equipment, waste-removal trucks, and snowplows.
A gate can technically be wide enough for a vehicle but still create problems if the driver has to make a tight turn.
Gate width and traffic flow should be evaluated together.
Prepare for Existing Fence Removal
Replacement projects require another step before new fencing can go in.
The existing fence may include:
Chain link fabric
Rails
Panels
Gates
Posts
Concrete footings
The project scope should identify who is responsible for demolition, hauling, and disposal.
Gate and terminal posts may have larger footings than standard line posts, requiring more removal work.
Posts installed through asphalt or concrete can also affect site preparation.
Knowing the demolition scope in advance helps property managers understand what must happen before new installation begins.
Inspect Drainage After Fall Rain
Fall can be useful for identifying drainage problems because wet weather makes low areas easier to spot.
Check the planned fence line for:
Standing water
Mud
Erosion
Runoff paths
Soft ground
Exposed old footings
Brodhead properties can experience freeze-thaw conditions as colder weather arrives.
If old posts repeatedly leaned in one wet section, simply installing new posts in the same location without considering the ground condition may lead to future movement.
Major drainage correction may require separate work, but the issue should still be identified before installation.
Review Asphalt and Concrete Areas
Commercial fence lines often pass through paved sections.
Possible installation areas include:
Parking lots
Drive entrances
Loading zones
Sidewalks
Installing posts through these surfaces may require cutting, excavation, and later restoration.
If an old fence is being replaced, existing footings may also need to be removed from the pavement.
Property managers should confirm how this work will be handled before the scheduled installation date.
A clear pavement plan helps prevent unexpected site work once crews are already on the property.
Create a Material Staging Area
Fence materials need somewhere to be stored during installation.
The staging area should provide enough room for items such as:
Posts
Rails
Chain link fabric
Panels
Gates
Choose a location that does not interfere with normal business traffic.
Avoid blocking:
Main entrances
Fire lanes
Delivery zones
Loading areas
Important employee parking
Equipment routes
A practical staging location reduces unnecessary material movement and helps keep the installation area organized.
Coordinate Around Deliveries and Business Traffic
Commercial properties often need to stay open while fence work is underway.
Before installation, review the site's busiest periods.
Consider:
Delivery schedules
Employee arrival times
Customer traffic
Equipment movement
Waste-removal service
If crews need to work near a main driveway, temporary traffic adjustments may be necessary.
Properties with multiple entrances may have more flexibility.
A business with one primary gate may need installation completed in stages so access can remain available.
Planning this before crews arrive helps reduce disruption.
Mark High-Risk Vehicle Areas
Fence sections near active traffic deserve additional planning.
Pay particular attention to:
Parking lot corners
Loading zones
Delivery entrances
Dumpster areas
Equipment routes
If an older fence was repeatedly struck in one location, determine whether the new layout can reduce that risk.
Possible changes may include:
Wider gate openings
Additional turning room
Bollards
Wheel stops
Improved traffic routing
Replacing a damaged fence without reviewing the traffic pattern may recreate the same problem.
Plan for Fall Weather
Fall installation in southern Wisconsin can involve changing conditions.
Possible schedule factors include:
Heavy rain
Mud
Strong winds
Shorter daylight
Colder temperatures
These conditions do not automatically prevent installation.
However, a prepared site gives crews more flexibility when workable weather becomes less predictable.
Businesses can help by finalizing layout decisions, clearing obstacles, and resolving access questions before the scheduled start.
Site preparation becomes increasingly valuable as winter approaches.
Include Snow Removal in the Site Plan
A fence installed in fall will soon have to function during snow season.
Before installation, identify:
Snowplow routes
Snow-storage areas
Swing gate paths
Sliding gate travel areas
Vehicle turning zones
Avoid choosing snow-storage locations directly against the new fence whenever possible.
Compacted snow can place additional pressure on rails, posts, panels, and chain link fabric.
Snowbanks can also narrow commercial entrances and push vehicles closer to gate posts.
Planning winter operations now can reduce avoidable problems later.
Check the Site Again Just Before Installation
Conditions can change between the initial estimate and the installation date.
A final walkthrough should confirm that:
The fence line remains clear
Gate locations are finalized
Materials have a staging area
Access routes are open
Demolition responsibilities are understood
No new drainage problems have appeared
This final check can catch small issues before they affect the work schedule.
It is especially useful for active commercial properties where equipment, inventory, and vehicles may regularly move around the site.
Prepare the Property for a Smoother Fall Installation
Successful commercial fence installation starts before the first post is set.
Layout, gate access, demolition, drainage, pavement, traffic, material staging, and winter operations should all be considered while preparing a Brodhead property for fall work.
Rockford Fence provides commercial fence installation, repair, replacement, chain link fencing, security fencing, gates, dumpster enclosures, and other commercial fence solutions.
Contact Rockford Fence to discuss commercial fence installation in Brodhead, WI. A site evaluation can help define the layout, preparation requirements, access plan, and installation scope before work begins.
