
Commercial Fence Installation Timeline in Rochelle, IL: Estimate to Completion
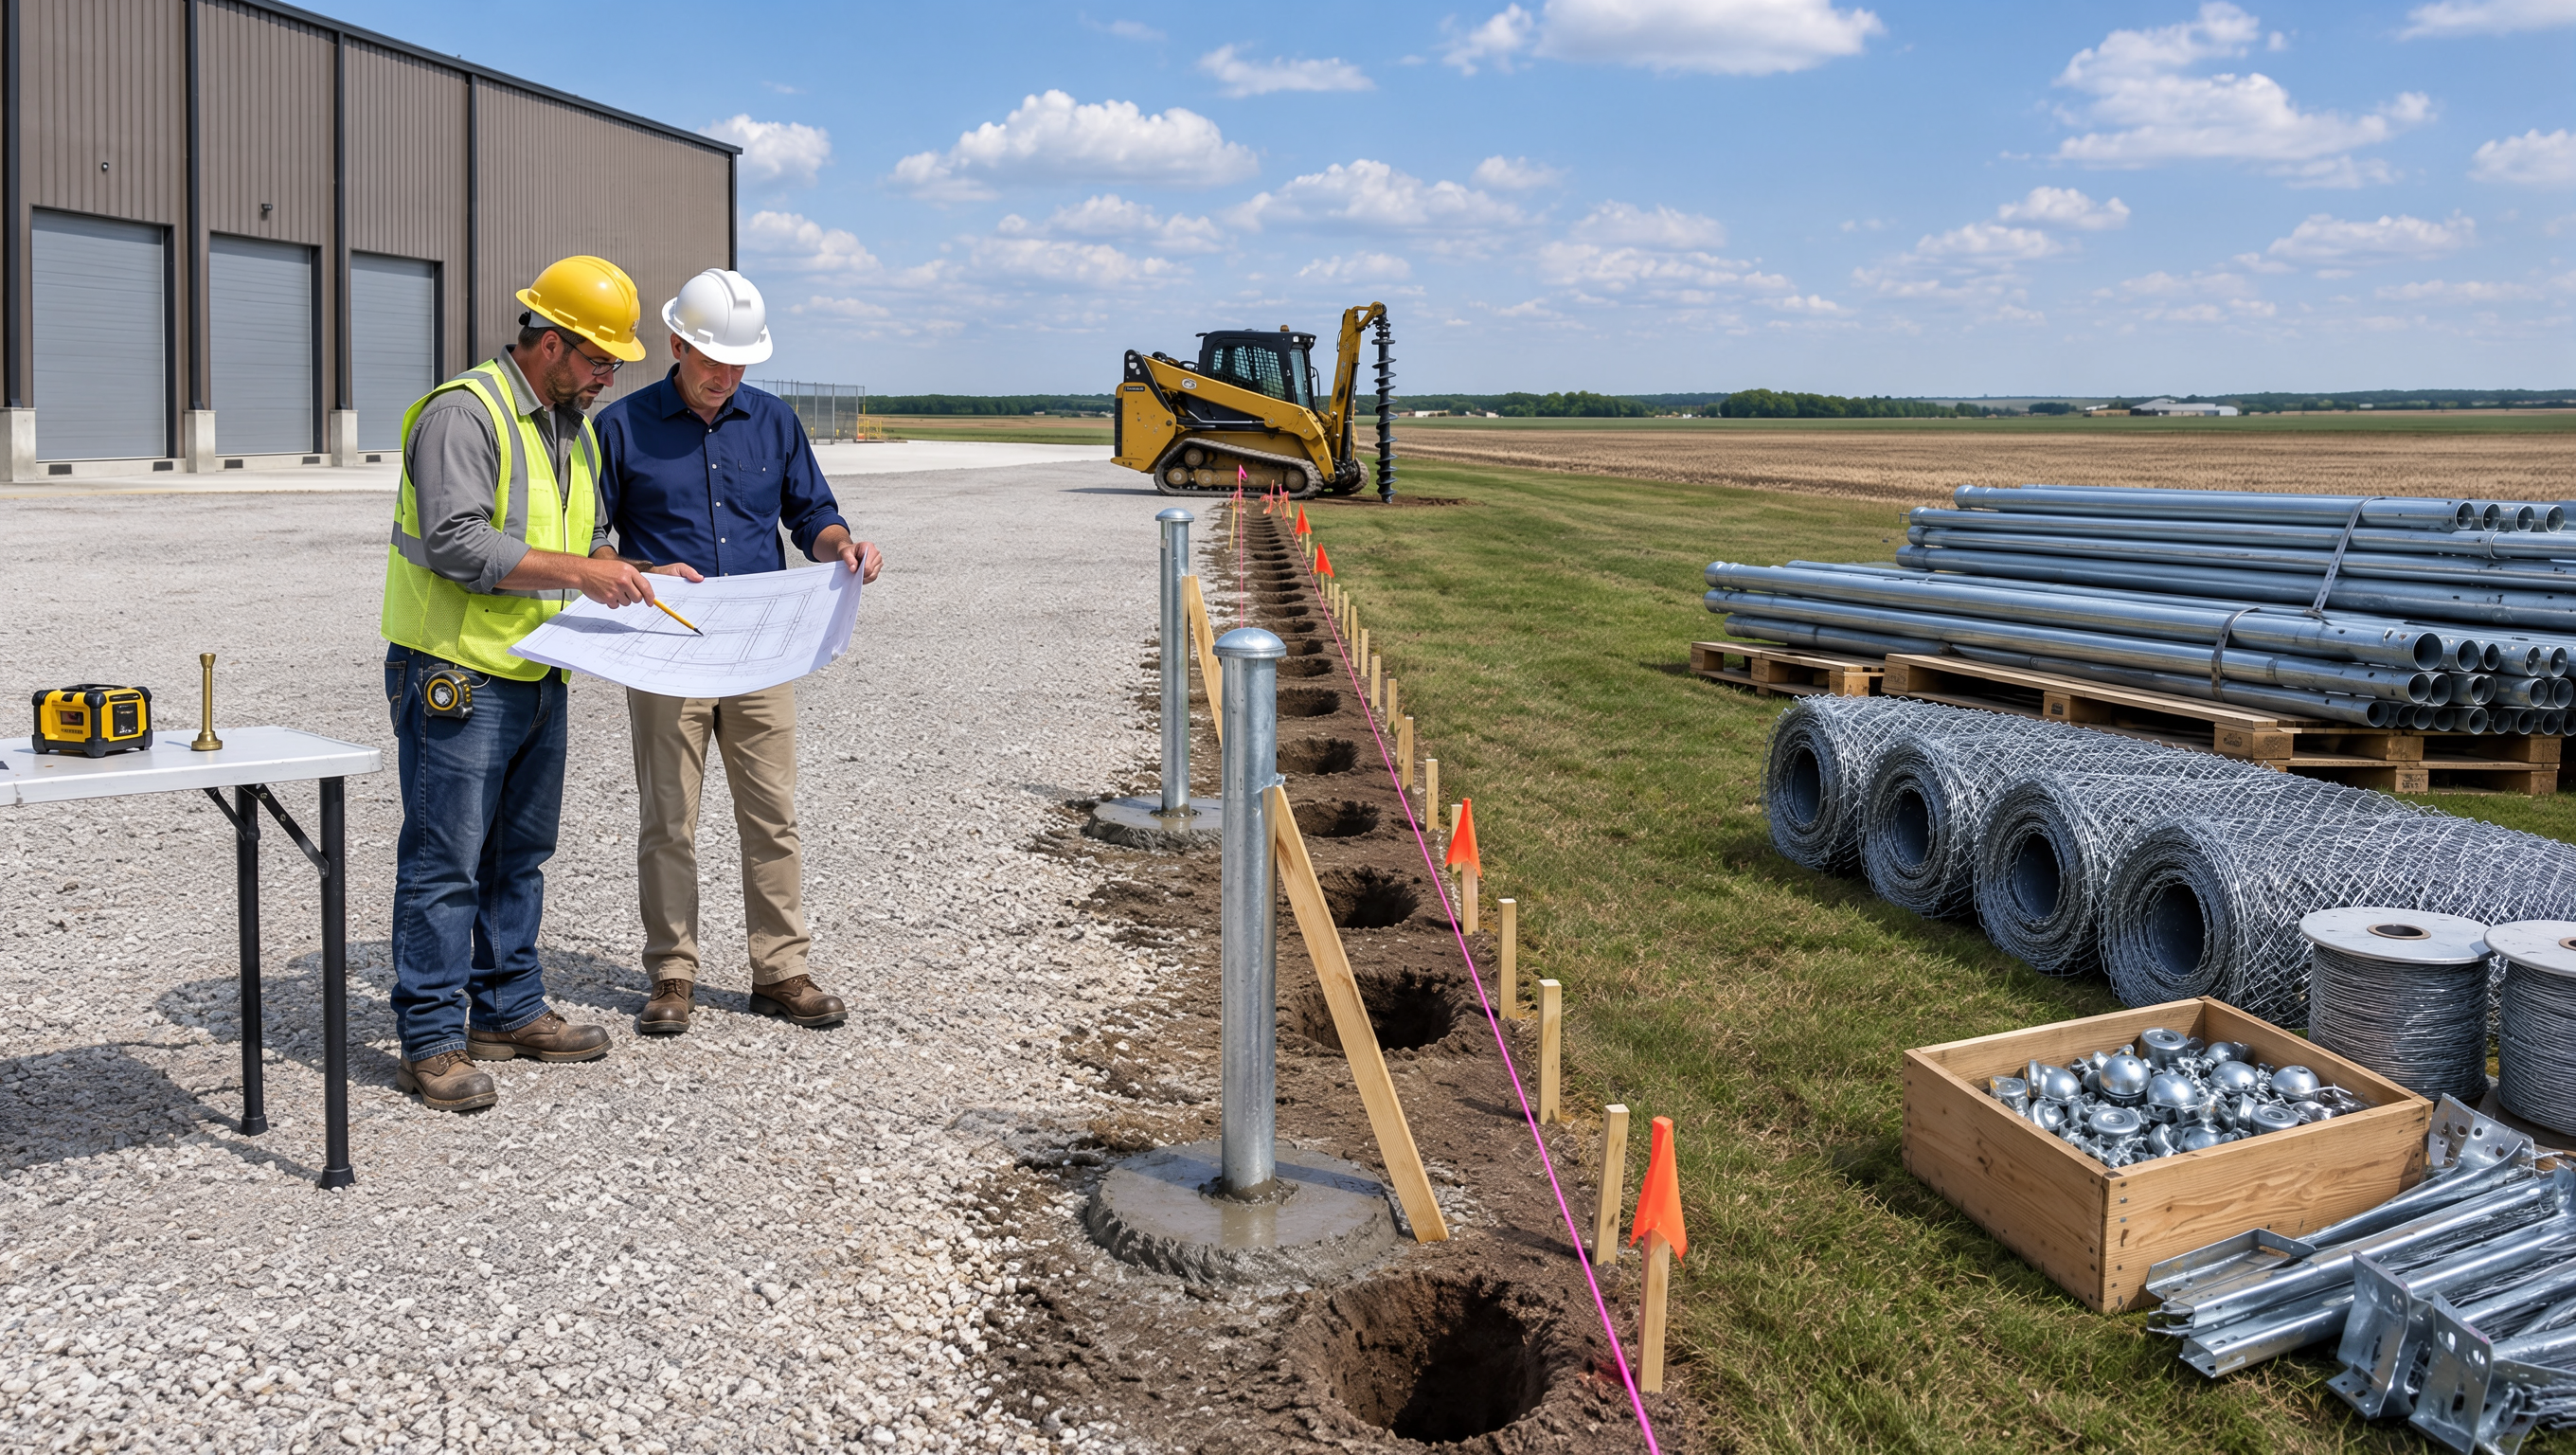
A commercial fence installation in Rochelle usually moves through several stages, including the initial site review, project estimate, layout confirmation, material planning, site preparation, installation, and final inspection. The exact timeline depends on project size, gate requirements, demolition, site conditions, weather, and whether the property must remain fully operational during the work.
The Timeline Starts Before Installation Day
Commercial fence projects often begin well before crews arrive on site.
The early planning stage helps define:
Fence location
Total footage
Material
Fence height
Gate locations
Vehicle access
Existing fence removal
Site conditions
A clear scope helps reduce delays later.
If gate widths, layout, demolition, or access requirements are still changing after the project is scheduled, the timeline may need to be adjusted.
The more decisions that are finalized early, the easier it is to move from estimate to installation.
Step 1: Site Evaluation and Measurements
The first stage is usually an on-site review.
During this visit, the property may be evaluated for:
Fence length
Corners
Gate openings
Pavement
Slopes
Drainage
Existing fencing
Equipment access
Commercial properties often have more variables than simple residential fence lines.
A fence may need to run beside parking areas, loading zones, equipment yards, or outdoor storage.
The site evaluation helps identify those conditions before materials and labor are planned.
Step 2: Define the Project Scope
After the site is measured, the proposed fence system needs to be clearly defined.
The project scope may include:
Chain link fencing
Security fencing
Ornamental sections
Pedestrian gates
Vehicle gates
Dumpster enclosures
Existing fence removal
Businesses should review the scope carefully before approving the project.
A change from one gate to two, or from a standard vehicle opening to a much wider entrance, can affect materials and installation planning.
Finalizing these decisions before scheduling can help prevent avoidable delays.
Step 3: Review the Estimate
The estimate should describe what the project includes.
Important details may include:
Total footage
Fence material
Fence height
Posts
Gates
Hardware
Demolition
Site preparation
Cleanup
Major exclusions
Property managers should compare the written scope with what was discussed during the site visit.
If something is unclear, it is better to resolve it before materials are ordered or installation begins.
The estimate stage is also the time to confirm which work the property owner may need to complete separately.
Step 4: Confirm Layout and Access
Before installation begins, the fence line and gate locations should be finalized.
Review how the layout affects:
Deliveries
Employee parking
Customer traffic
Equipment movement
Waste-removal service
Snowplow routes
Gate placement deserves extra attention.
An entrance should provide enough width and turning space for the vehicles that regularly use the property.
If a gate is placed in the wrong location, correcting it after posts are installed can add unnecessary work and delay.
Step 5: Review Applicable Property Requirements
Before the final layout is installed, businesses should review applicable local requirements for the property.
This may involve confirming:
Property boundaries
Site restrictions
Required setbacks
Applicable permits or approvals
Requirements can vary by project and property type.
The fence plan should be based on reliable site information rather than assumptions about where a property line or allowable fence location sits.
Resolving these questions before installation helps keep the project moving once crews arrive.
Step 6: Prepare the Site
A commercial fence line needs enough room for installation crews and materials.
Site preparation may involve clearing:
Stored materials
Pallets
Branches
Vegetation
Temporary obstacles
Equipment
If an old fence is being replaced, demolition may happen before or during this stage.
The scope should clarify whether removal is handled by the fence contractor or separately.
A clear work area can help prevent delays caused by crews having to move around unexpected obstacles.
Existing Fence Removal Can Affect Timing
Replacement projects often require more preparation than new installations.
Old materials may include:
Chain link fabric
Rails
Posts
Gates
Panels
Concrete footings
Posts installed through asphalt or concrete can require additional work.
Large gate or terminal post footings may also take more time to remove than standard line posts.
If demolition is part of the project, it should be considered when planning access and installation sequence.
Step 7: Material Scheduling
Material availability can influence when installation can begin.
Standard fence components may be easier to schedule than specialized gates or custom sections.
Projects that include:
Wide gates
Ornamental fencing
Specialized hardware
Unique dimensions
may require more planning before installation.
This is another reason to finalize the project scope early.
Late design changes can affect both material needs and the scheduled installation date.
Step 8: Plan the Work Sequence
Commercial fence projects may need to be completed in stages.
This is especially important when the business must remain operational.
A phased plan may keep:
One vehicle entrance open
Delivery access available
Employee parking accessible
Equipment routes clear
For example, one side of the property may be completed before the main gate is removed.
The exact sequence depends on the site.
Discussing access requirements before crews arrive allows the installation plan to support normal operations as much as possible.
Step 9: Post and Structural Installation
Posts are a critical part of the installation process.
Crews may install:
Line posts
Corner posts
Terminal posts
Gate posts
Site conditions can affect this stage.
Potential challenges include:
Hard soil
Existing concrete
Asphalt
Slopes
Wet areas
Old footings
Gate and terminal posts may require more substantial installation because they support additional loads.
If unexpected underground or ground-level conditions are encountered, the work may need to be adjusted.
Step 10: Install Rails, Fabric, Panels, and Gates
Once the structural supports are ready, the rest of the fence system can be installed.
Depending on the project, this may include:
Top rails
Chain link fabric
Panels
Fittings
Tension hardware
Gates
Chain link fabric should be properly tensioned without pulling unstable posts out of alignment.
Gates should be installed so they move freely and close correctly.
This stage is where the perimeter begins to take its final form.
Gate Installation May Require Extra Time
Commercial gates often involve more adjustment than fixed fence sections.
The installer may need to verify:
Frame alignment
Ground clearance
Hinge movement
Roller operation
Latch position
Gate stops
Sliding gates also need a clear travel path.
Automated systems, where applicable, may involve additional electrical or access-control work that is separate from the basic fence installation.
Businesses should understand whether those components are included in the fence project or coordinated separately.
Weather Can Influence the Schedule
Fall projects in Rochelle may be affected by changing weather.
Possible factors include:
Heavy rain
Mud
Strong winds
Cold temperatures
Shorter daylight
Weather does not automatically stop every installation, but certain conditions can slow site preparation, excavation, or gate work.
A project with a prepared site and finalized scope is easier to manage when the weather becomes less predictable.
Building flexibility into fall scheduling can be helpful as winter approaches.
Final Inspection and Adjustments
Before the project is considered complete, the finished fence should be reviewed.
Check:
Fence alignment
Post stability
Chain link tension
Gate movement
Latch operation
Ground clearance
Hardware
Cleanup
Any final adjustments should be addressed before the project is closed out.
Commercial gates deserve particular attention because small alignment issues can become more noticeable with daily use.
A final walkthrough also gives the property manager an opportunity to confirm that the installed scope matches the approved plan.
From Estimate to Finished Fence in Rochelle
A commercial fence installation timeline depends on more than the number of feet being installed.
Site evaluation, design decisions, material planning, demolition, access coordination, weather, and gate requirements all influence how smoothly a project moves from estimate to completion.
Rockford Fence provides commercial fence installation, replacement, repair, chain link fencing, security fencing, gates, dumpster enclosures, and other commercial fence solutions.
Contact Rockford Fence to discuss commercial fence installation in Rochelle, IL. A site evaluation can help define the project scope, access needs, and installation sequence before work begins.
